Introduction
Disclaimer: this tutorial is a bit complex and has only been tested a couple of times on my own setup. Please report any issue in a dedicated support thread. Feedback is most welcome.
You might want to circumvent some geographic limitations when you are abroad.
You might also want to be extra sure that some applications on your server remain private.
You do not have a local or public domain, and you are wondering if you can access YunoHost apps with the server’s IP address (no, you cannot).
A technical solution for these issues can be to create a virtual private network (VPN).
In this tutorial you will learn how to setup a Headscale as VPN, Adguard for custom and filtering domain resolution (DNS), and install apps only accessible through the VPN. Adguard will also be used to circumvent an infamous feature gap in Tailscale’s MagicDNS feature (feel free to give a ![]() to that issue. No brigading, no spam there, please.)
to that issue. No brigading, no spam there, please.)
Note that some apps, notably in the communication or fediverse category, expect to be publicly accessible: they will not work in an Intranet context.
0.  Prerequisite
You have a server:
- running YunoHost 12 or above
- ready to be used, with its post-installation done
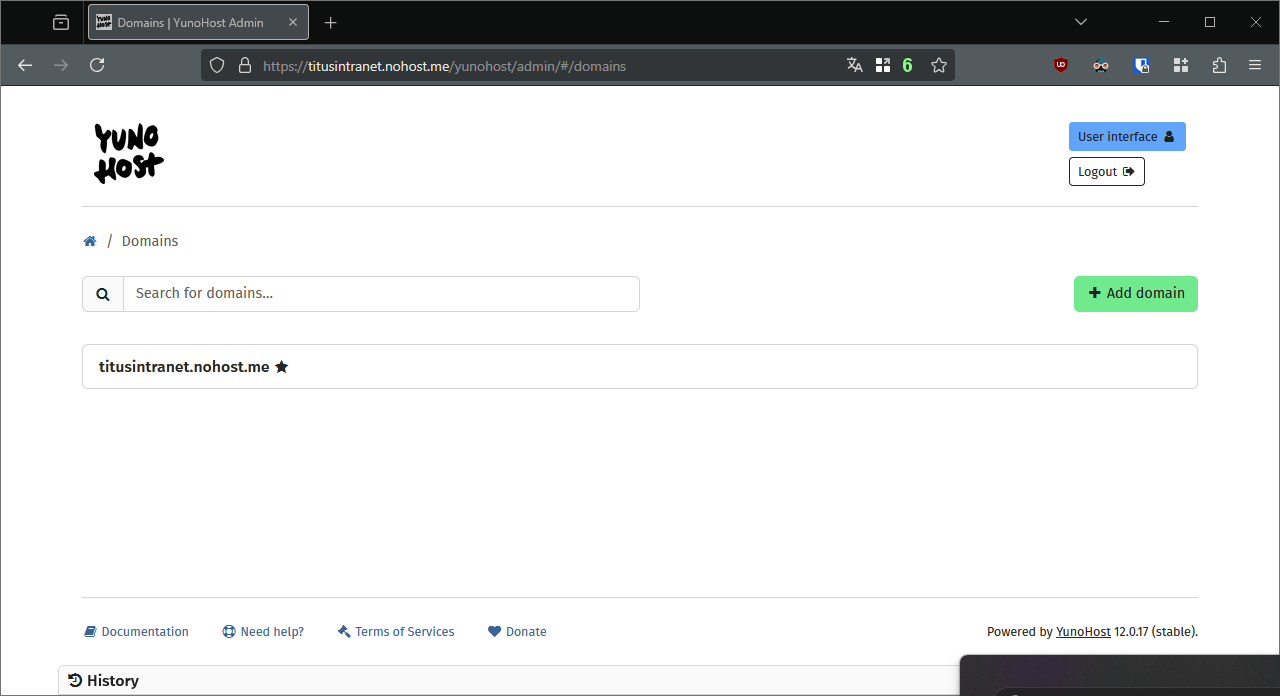
- reachable from the Internet with a public domain (your own domain with correctly set DNS records, or a domain provided by YunoHost): this is necessary for the VPN client to find your server from wherever you might be. I will be using
titusintranet.nohost.meas an example here.
1.  Install Dex, the OIDC server
As per YunoHost’s dream map, we will someday support OIDC for user authentication. In the mean time, we will use Dex for it.
If you already have installed Dex or upgraded it beyond v2.42.1~ynh4, you may skip to the next step, “Install Headscale, the VPN coordinator”.
- Install Dex, with the following parameters in the installation form:
- Create a dedicated subdomain for Dex, I chose
dex.titusintranet.nohost.me - Choose
/as path
- Create a dedicated subdomain for Dex, I chose
Screenshots of my test server
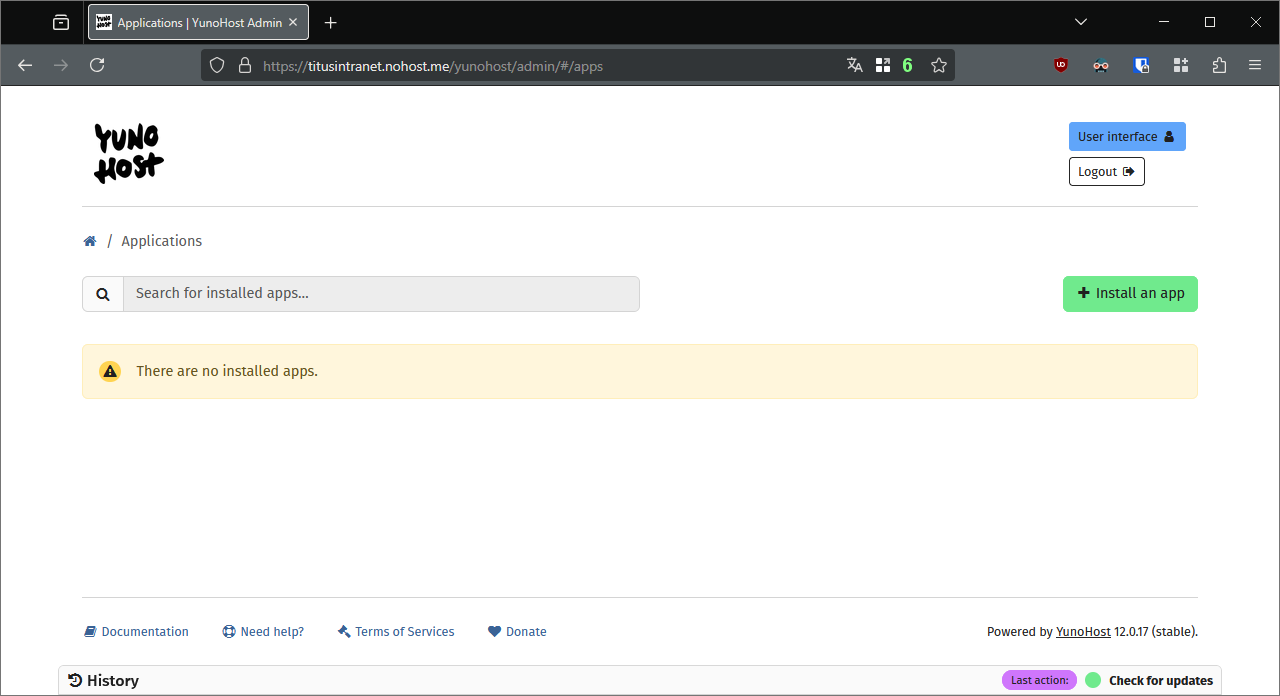
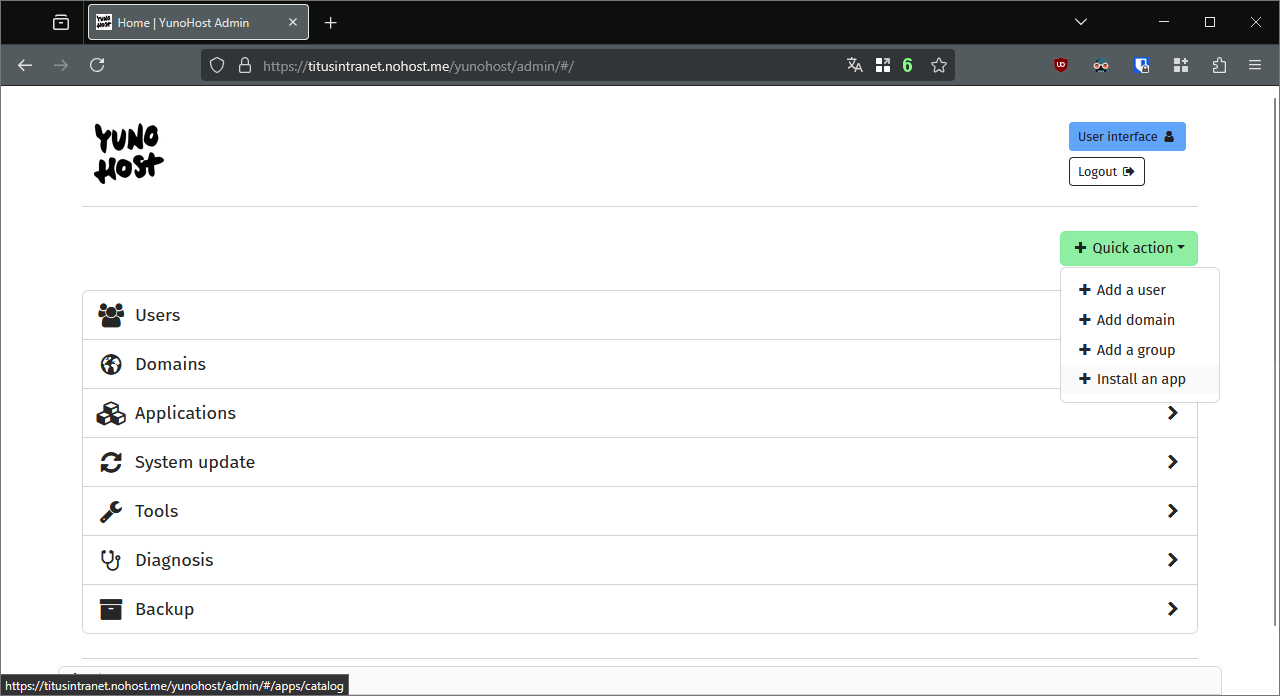
- In the main webadmin page, select the Quick action button and click on
+ Install an app
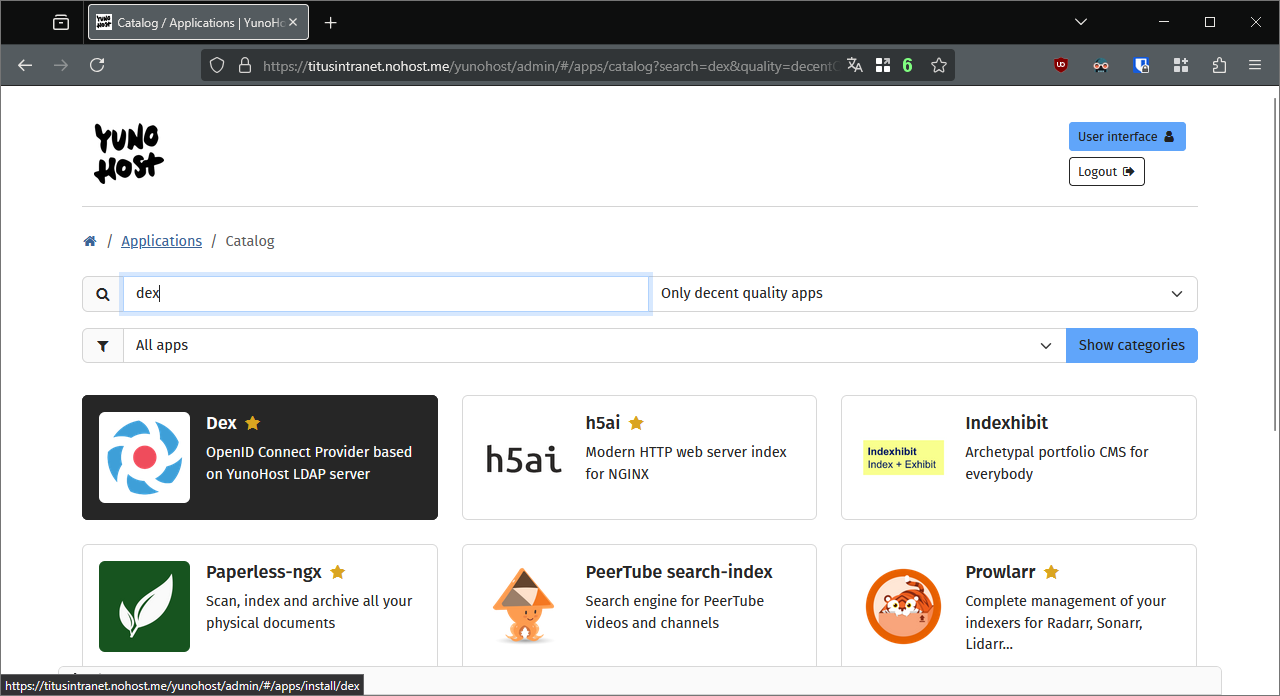
- It will open the catalog, type
Dexin the search box and click on the app
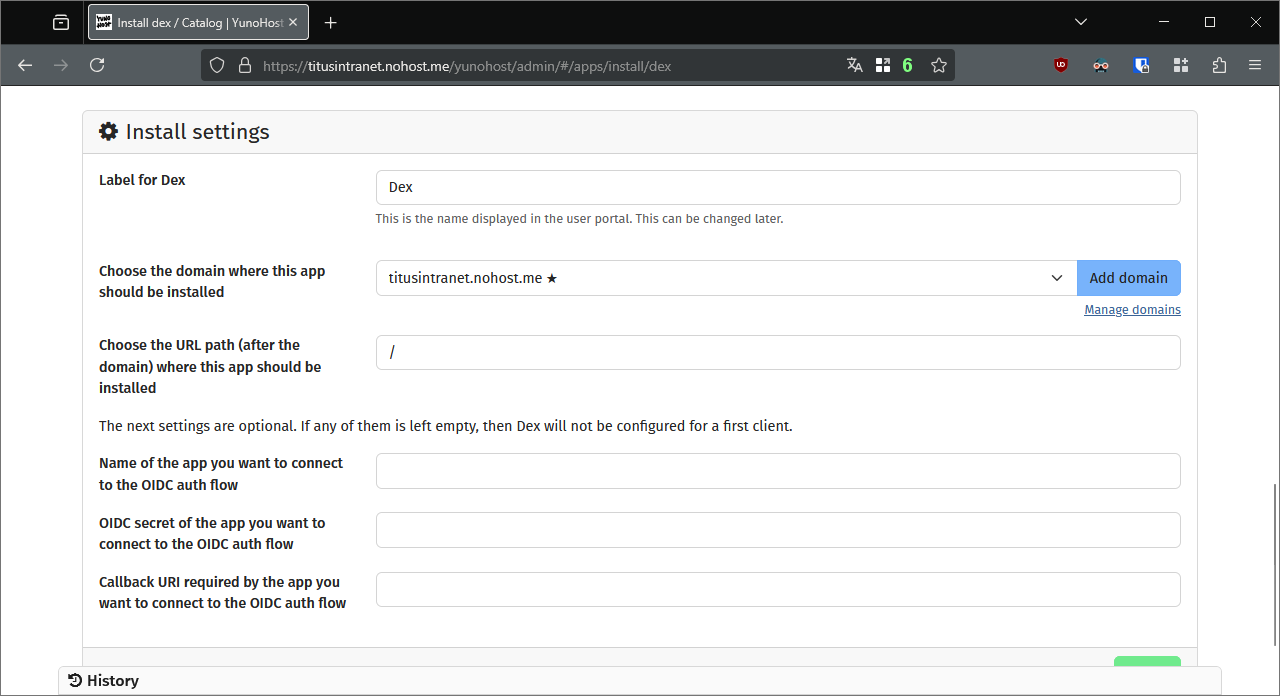
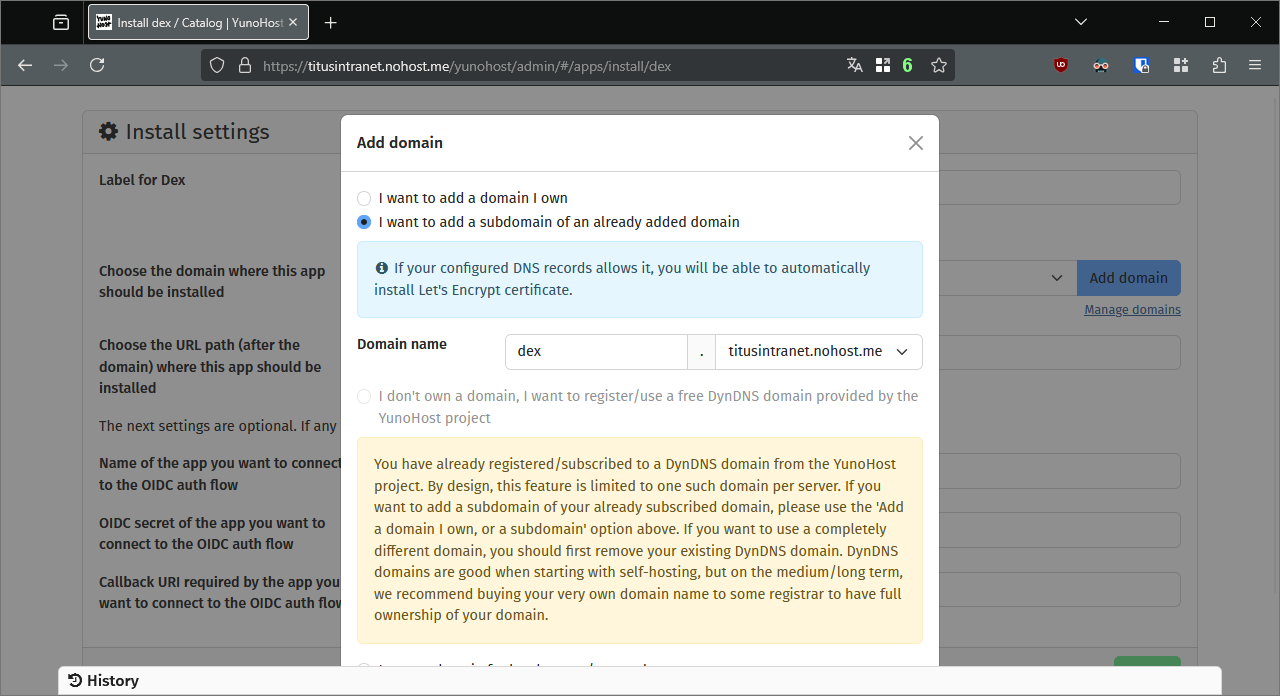
- In the installation form, click on the blue “Add domain” button.
- Select “I want to add a subdomain…”, and input
dexin the “domain name” field. Click on “Add” at the bottom of the form. You might need to retry the certificate generation.
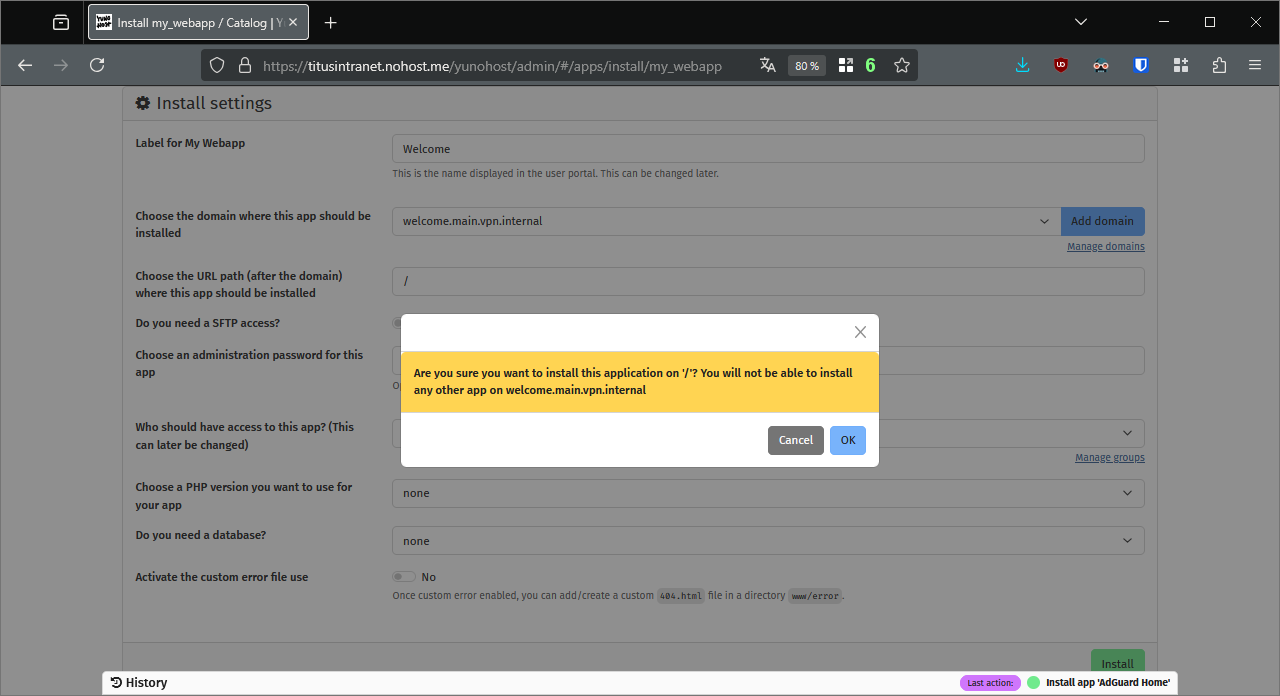
- Back in the Dex installation form, make sure to select its subdomain, put
/as path, and leave empty the other fields. Click on “Install”, and acknowledge that you will not be able to install other apps on the same domain.

2.  Install Headscale, the VPN coordinator
Headscale is a free, libre, and open-source implementation of the Tailscale VPN.
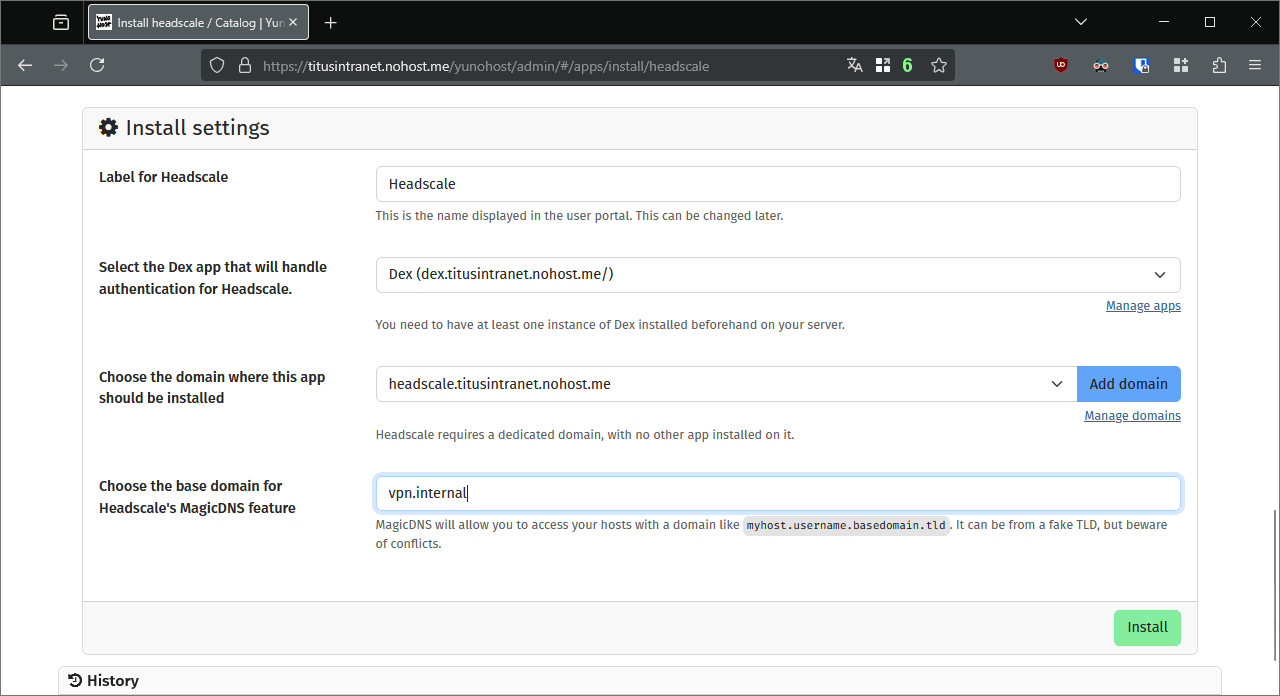
- Install Heascale, with the following parameters in the installation form:
- Select the Dex app you have just installed
- Create a dedicated subdomain for Headscale
- Choose your VPN-only base domain, e.g.
vpn.internal. All your devices will get a domain likeyourserverhostname.vpn.internal. In my case, my server will get the subdomaintitusintranet.vpn.internal. If you do not like your hostname, you may tweak it with the command line or Headplane, cf. second-to-last section of this tutorial.
![]() If you choose a non-publicly reachable top-level domain (like
If you choose a non-publicly reachable top-level domain (like .internal, .home.arpa or .test), you will not be able to generate certificates for the Intranet domains. Note that using .local as top-level-domain in this tutorial’s context is discouraged, since it relies on mDNS, which cannot be broadcast across Tailscale.
![]() If you want to generate certificates for your Intranet domains, choose a publicly accessible domain. In my case I can choose
If you want to generate certificates for your Intranet domains, choose a publicly accessible domain. In my case I can choose vpn.titusintranet.nohost.me. Check the last section of this tutorial to set everything up. N.B.: this still needs thorough testing.
What about subdomains? That’s the feature gap I was mentioning before, and we will patch it later with Adguard.
Step by step screenshots of my test server
- In the main webadmin page, select the Quick action button and click on
+ Install an app
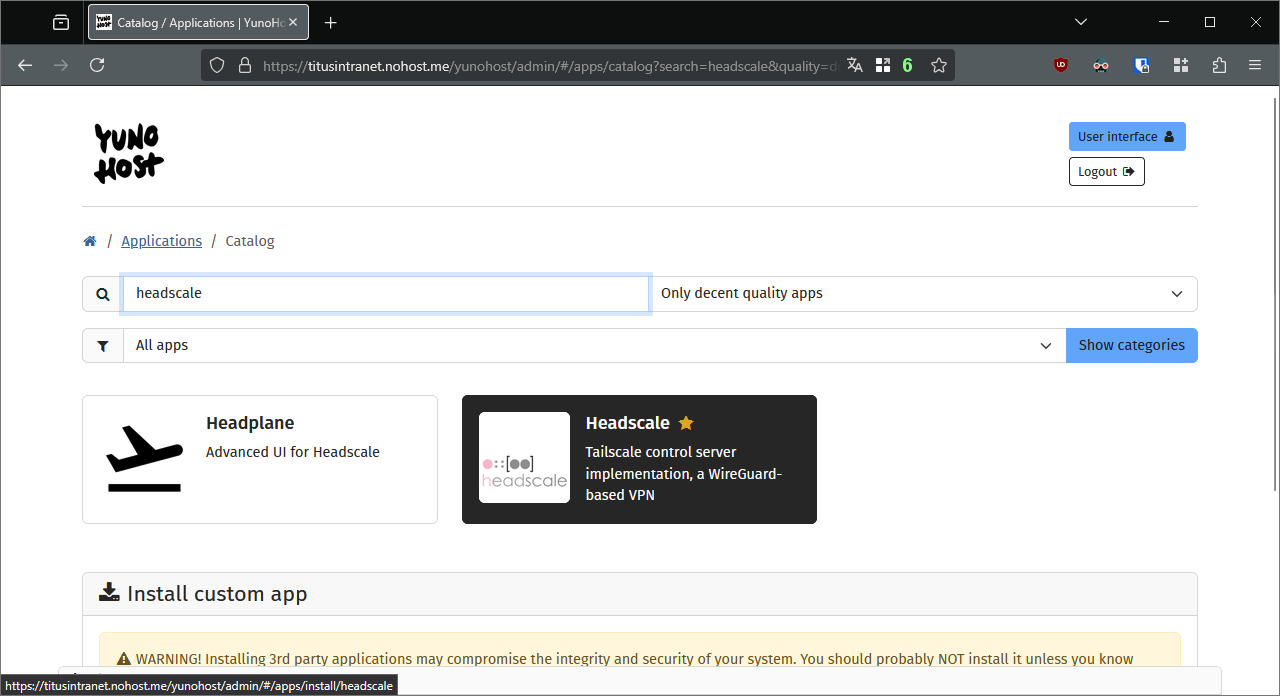
- It will open the catalog, type
Headscalein the search box and click on the app
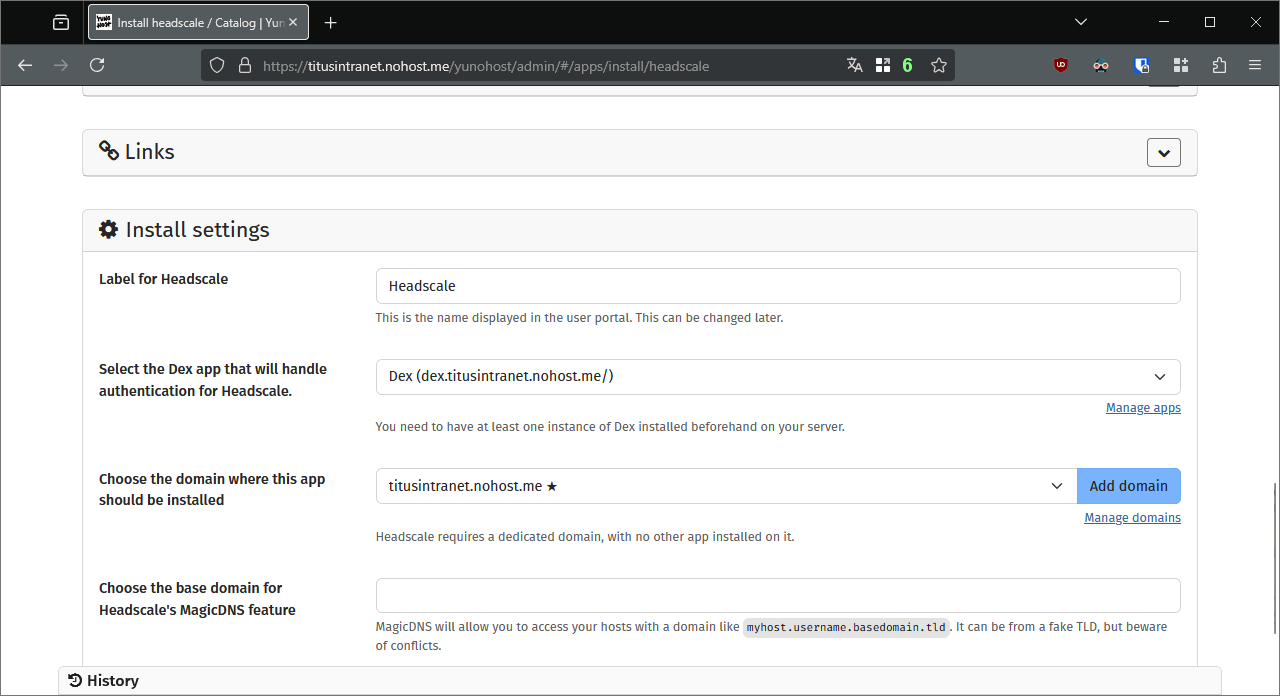
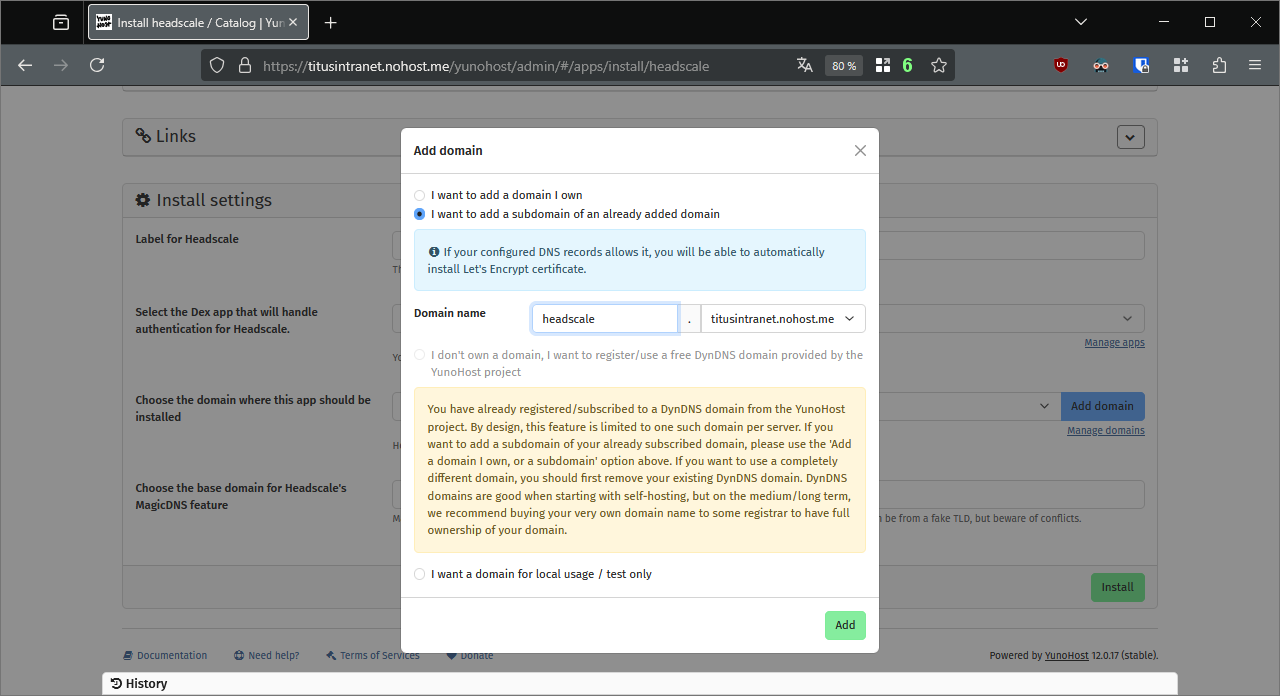
- Select the Dex app you have just installed, and click on “Add domain”
- Select “I want to add a subdomain…”, and input
headscalein the “domain name” field. Click on “Add” at the bottom of the form. You might need to retry the certificate generation.
- Choose your internal top-level domain for your VPN, e.g.
vpn.internal, then click on “Install”.
3.  Install the Tailscale client on the server
Heascale being only the coordinator, it does not actually connect your server to the VPN. You need to install the Tailscale client to do so.
Here is the generic installation page from Tailscale documentation: Install Tailscale on Linux · Tailscale Docs
Here is the one for Debian 12, onto which YunoHost is currently based: Install Tailscale on Debian Bookworm · Tailscale Docs
Login with the following command:
- the flag
--advertise-exit-nodeis set to allow clients to tunnel their connection through the server - the flag
--accept-dns=falseis set because we will not be using the DNS advertised by Headscale, since some non-sensical resolution loop might happen later
tailscale up --advertise-exit-node --accept-dns=false --login-server=https://headscale.titusintranet.nohost.me
It will output something along the lines of:
To authenticate, visit:

        https://headscale.titusintranet.nohost.me/register/<registration key>
Open the provided link, and log into Dex.


Let’s authorize it to run as an exit node. To do so, open a shell into Headscale.
yunohost app shell headscale
Let’s see which routes are available, there’s obviously only one, the server, with ID 1.
headscale@titusintranet:~$ ./headscale nodes list-routes
ID | Hostname      | Approved        | Available       | Serving (Primary)
1  | titusintranet |                 | 0.0.0.0/0, ::/0 |
The following command allows it to become an exit node (mentioning only the IPv4 is enough to enable to IPv6 too.
headscale@titusintranet:~$ ./headscale nodes approve-routes -i 1 -r 0.0.0.0/0
Node updated
4.  Install Adguard
Adguard will be used for two reasons:
- its expected ad-blocking features
- its DNS rewrite capabilities to patch the infamous feature gap mentioned in the Introduction: we will use it to tell your clients that all subdomains of
yourserverhostname.vpn.internalneed to point to the same domain.
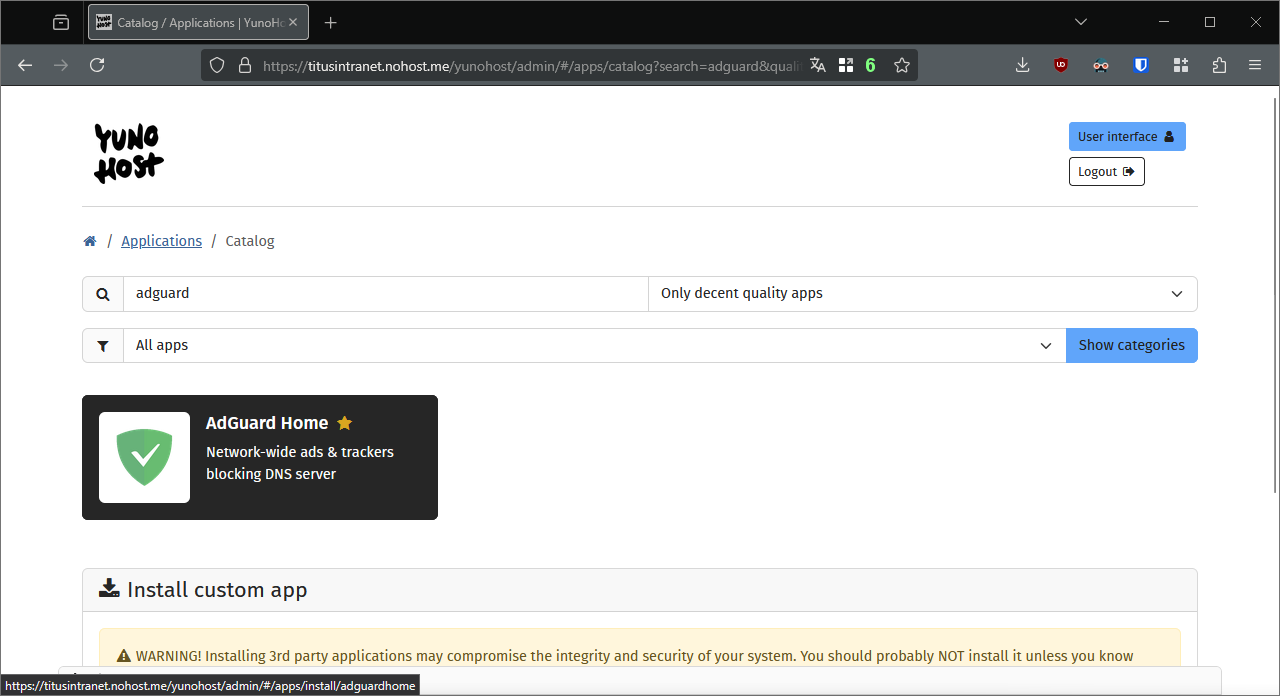
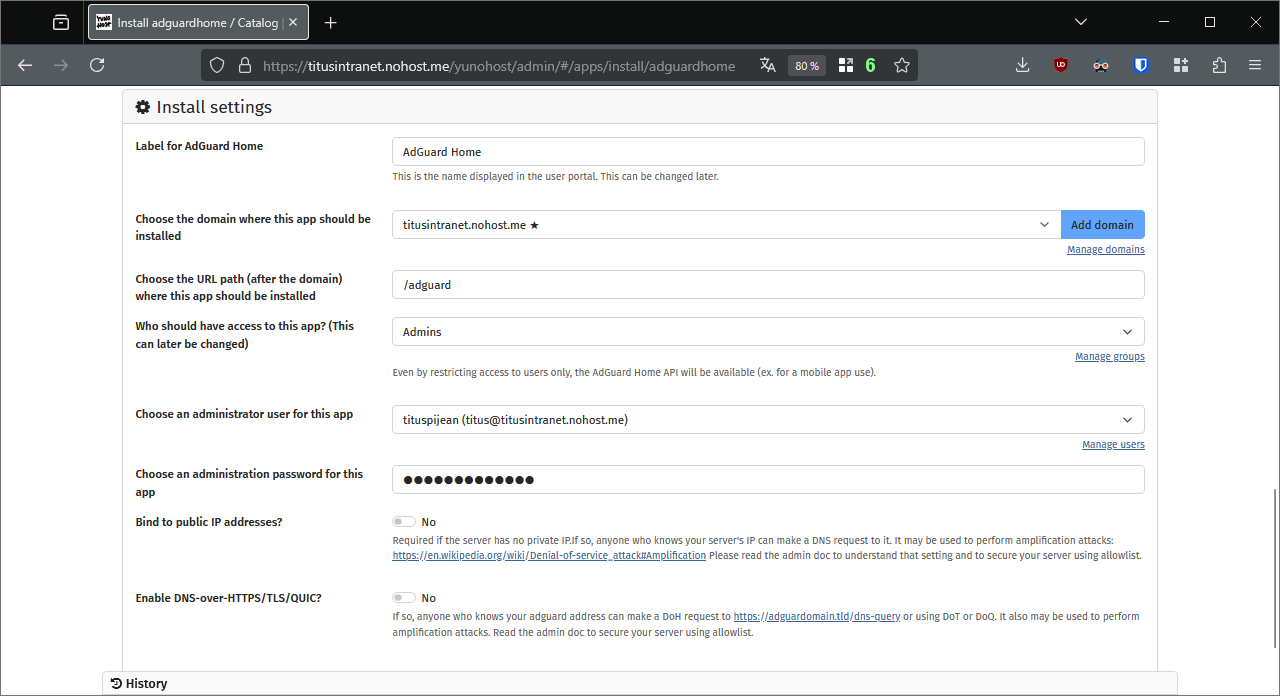
You know the drill now: open the catalog in the webadmin, install Adguard Home. I recommend to answer “No” to the two questions for the time being. Feel free to explore the app’s documentation later.
5.  Configure Adguard to work with Headscale
5.A. Tweak Adguard’s service
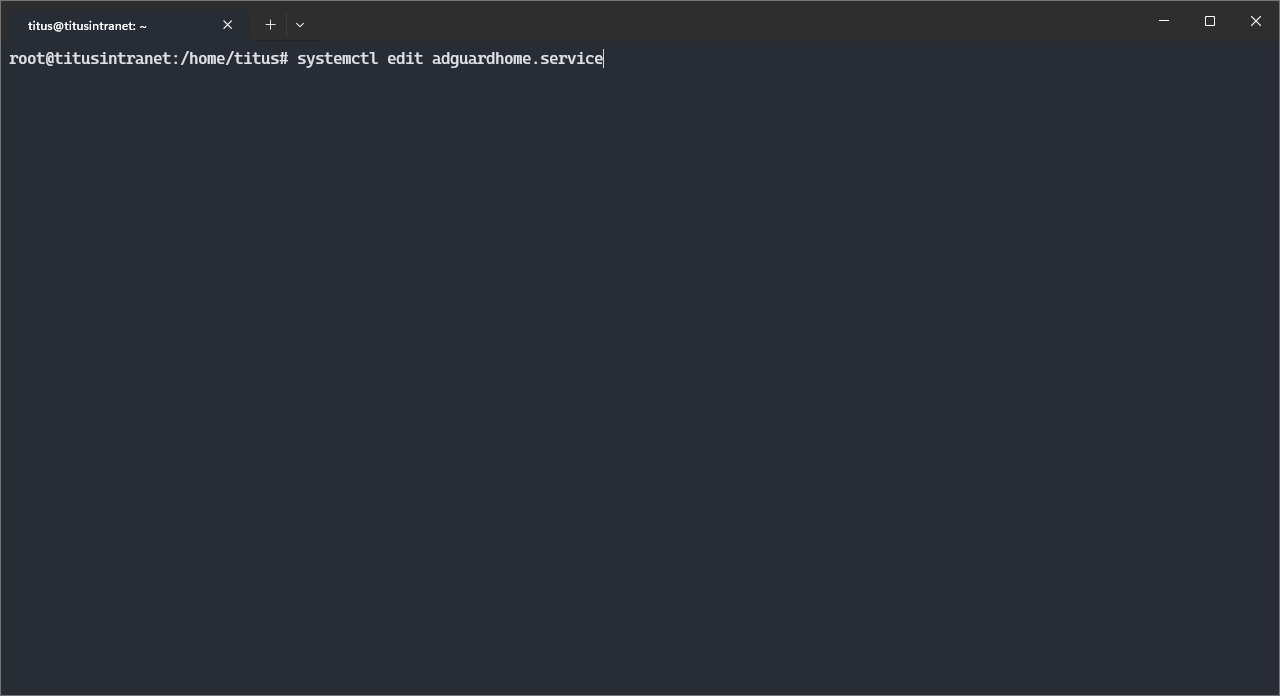
Then, we need to make sure that Adguard offers its services to Headscale. To do so, we first need it to start after Headscale launch. In the command line interface:
systemctl edit adguardhome.service
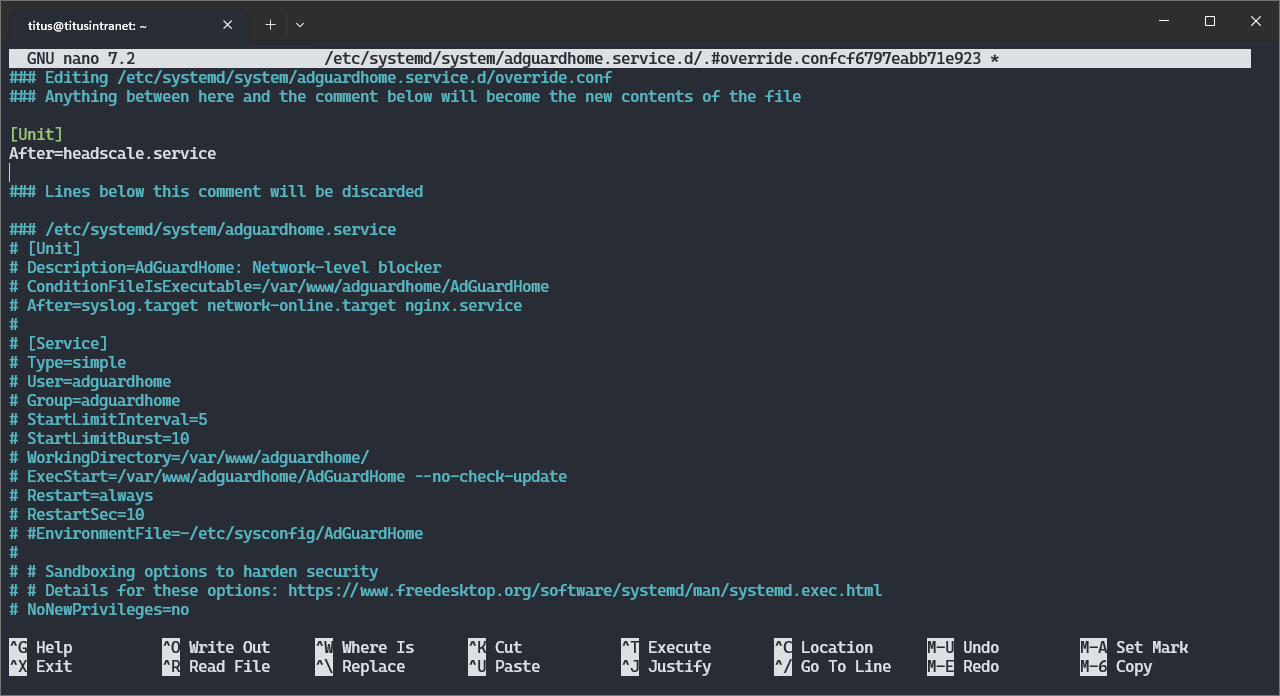
An editor is opened. Make sure the top of the file looks like this:
### Editing /etc/systemd/system/adguardhome.service.d/override.conf
### Anything between here and the comment below will become the new contents of the file

[Unit]
After=headscale.service

### Lines below this comment will be discarded
Save and quit with CTRL+O then CTRL+X.
5.B. Tweak Adguard’s configuration
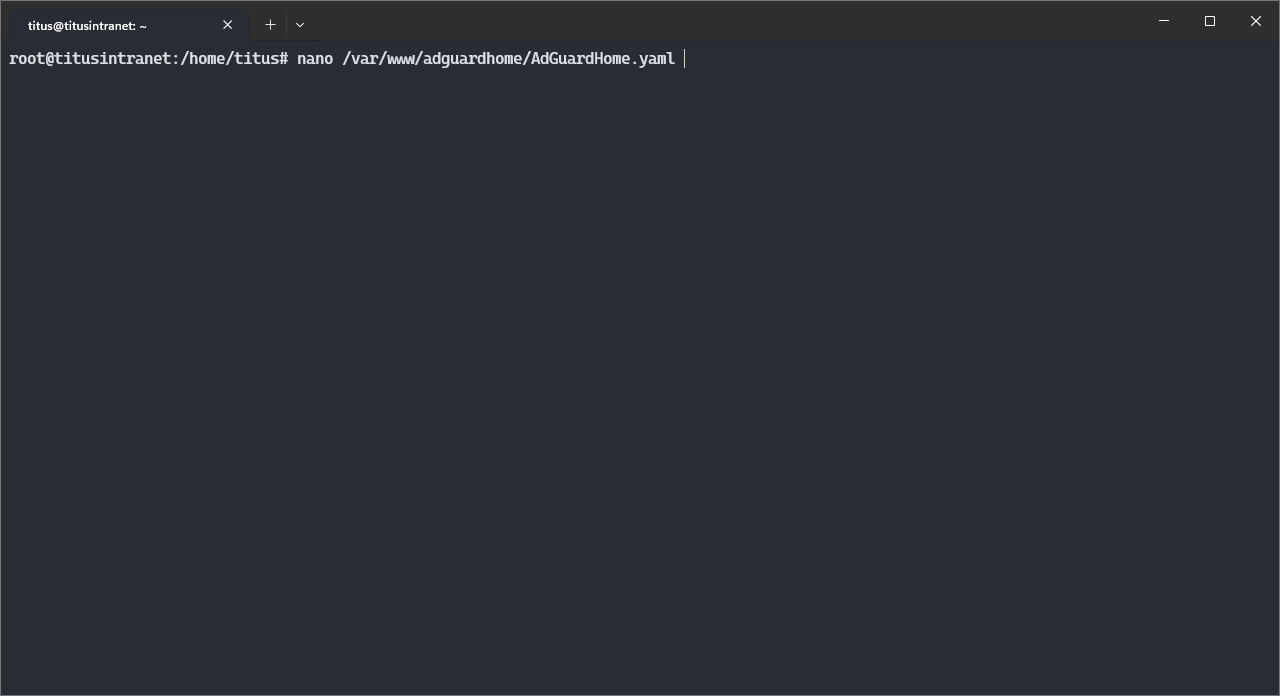
Then, let’s configure Adguard to listen on Headscale’s network.
nano /var/www/adguardhome/AdGuardHome.yaml
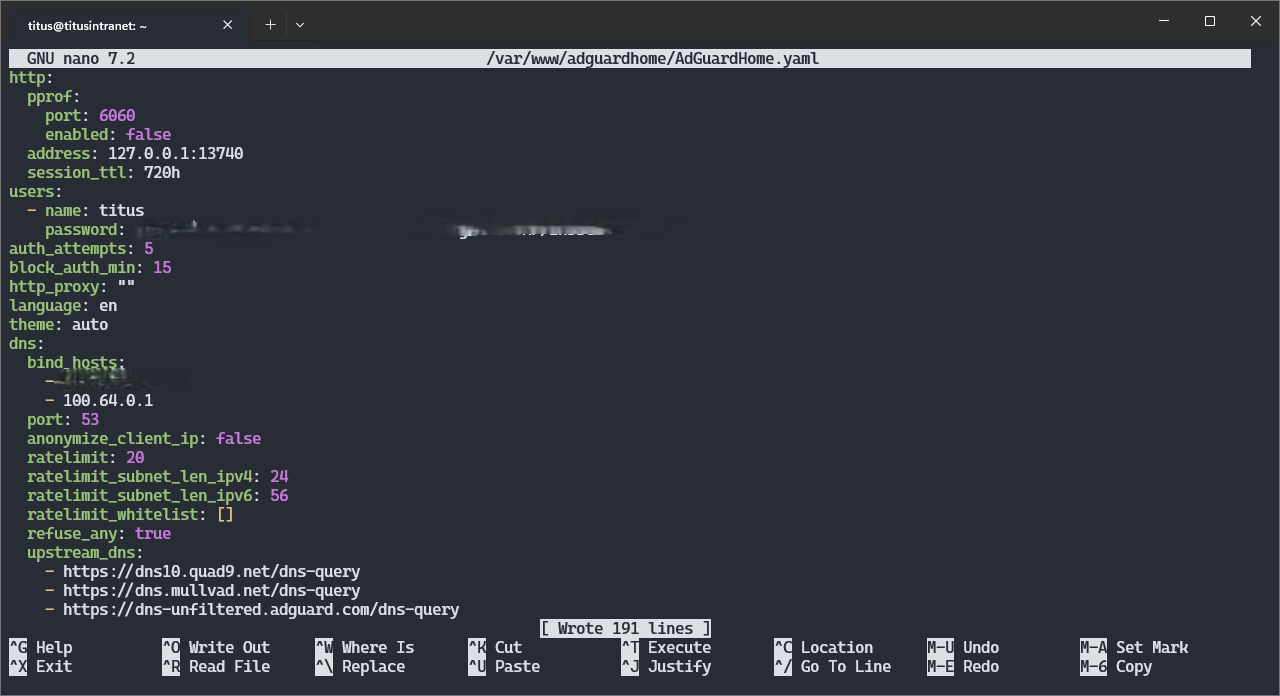
You need to add your server’s IP address (it should be 100.64.0.1, but check with ip a) on the network in the dns>bind_hosts section, like this:
http:
  pprof:
    port: 6060
    enabled: false
  address: 127.0.0.1:<A PORT ASSIGNED BY YUNOHOST>
  session_ttl: 720h
users:
  - name: titus
    password: <REDACTED>
auth_attempts: 5
block_auth_min: 15
http_proxy: ""
language: en
theme: auto
dns:
  bind_hosts:
    - <YOUR MAIN NETWORK INTERFACE IP ADDRESS>
    - 100.64.0.1
  port: 53
...
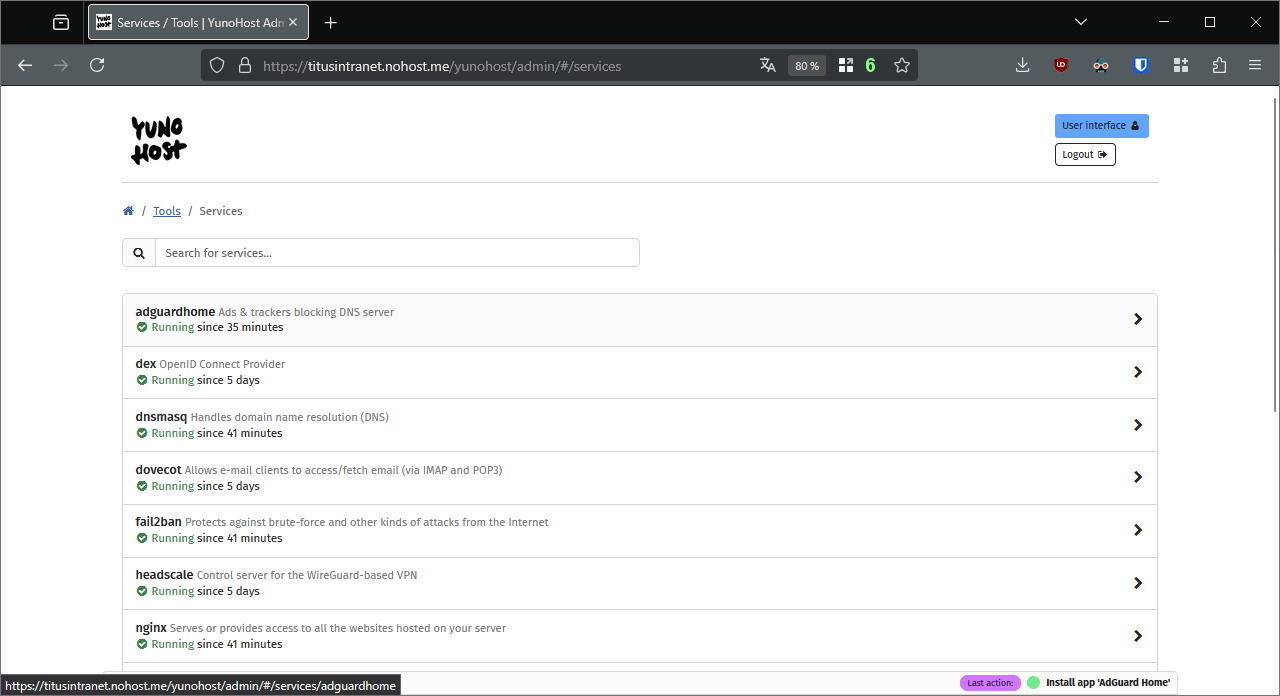
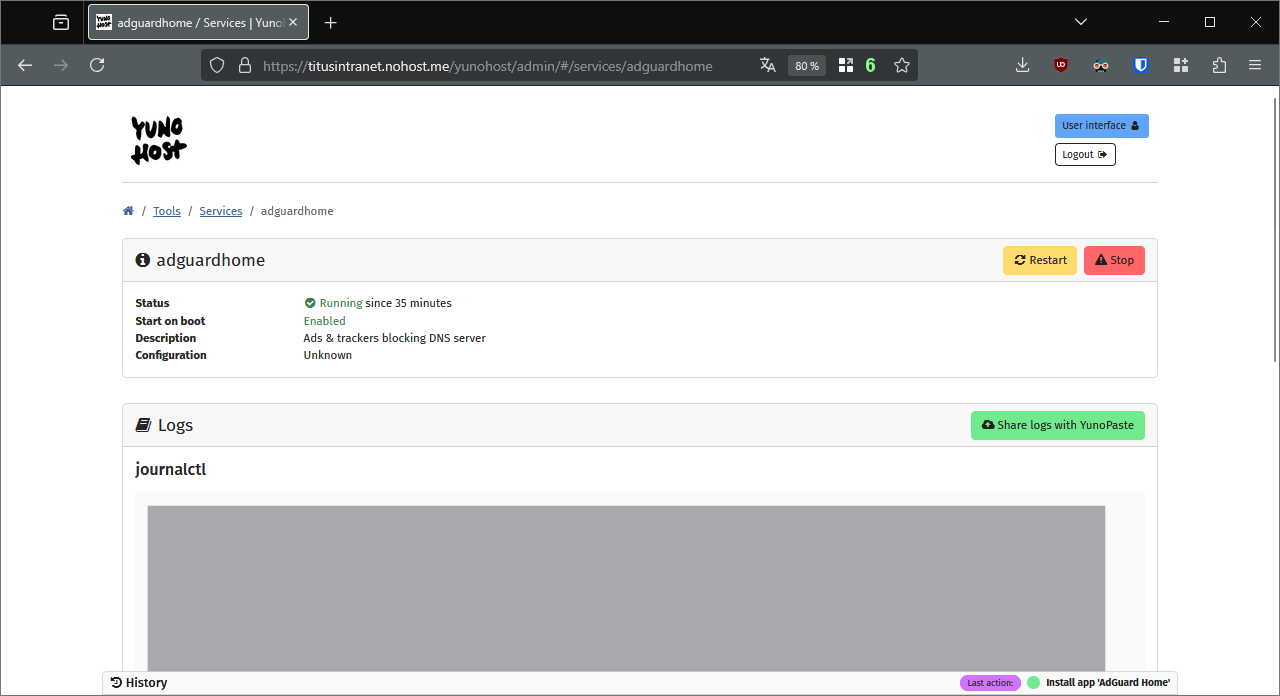
Restart the Adguard service. In the webadmin, it’s in the menu Tools, Services.
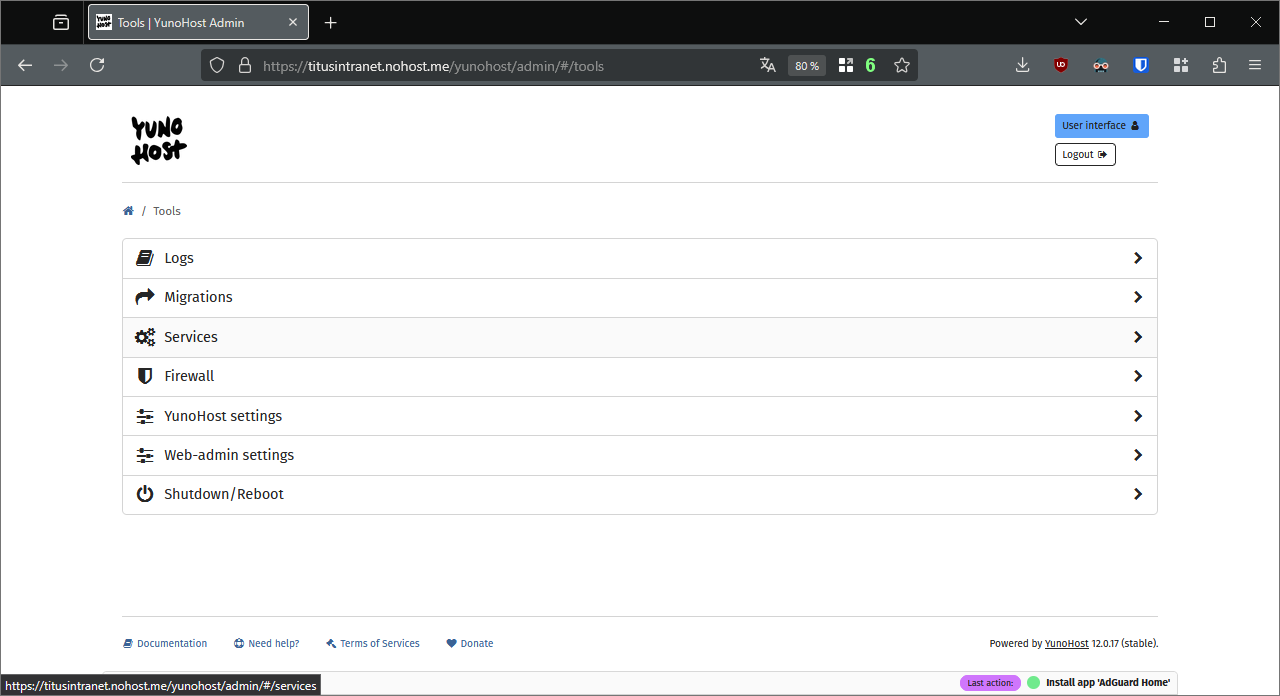
6.  Configure Headscale to work with Adguard
We then need to tell Headscale to use Adguard for its internal DNS.
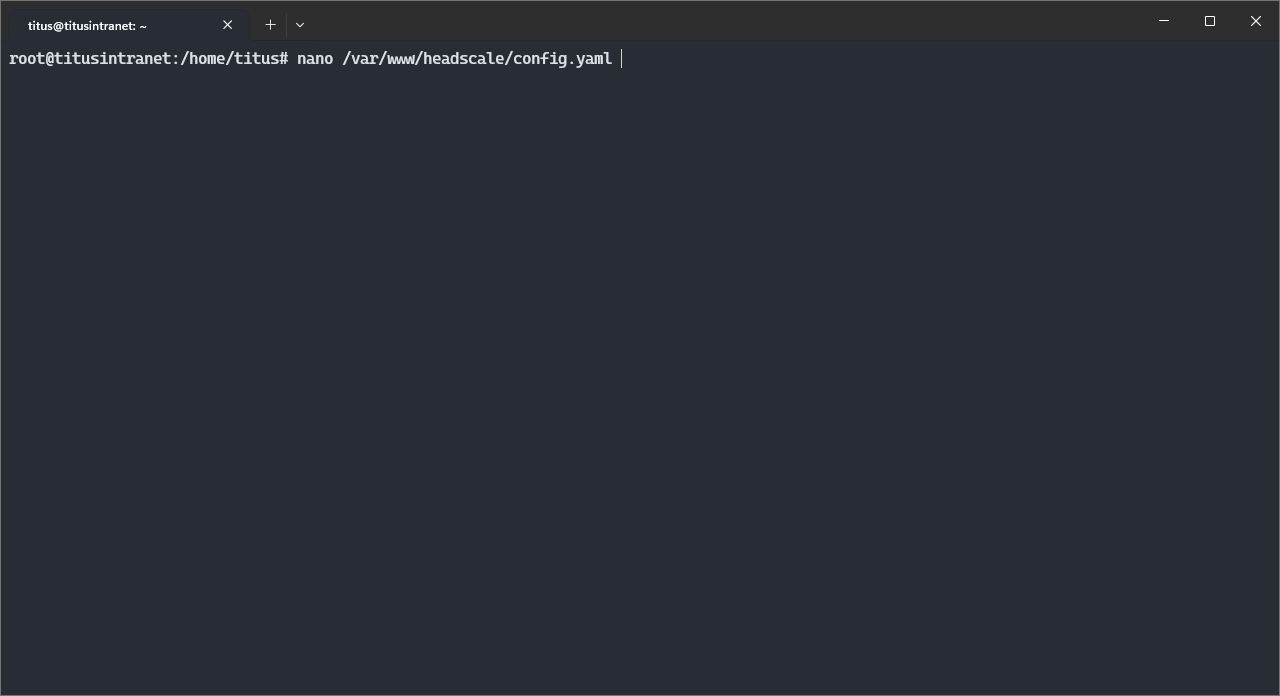
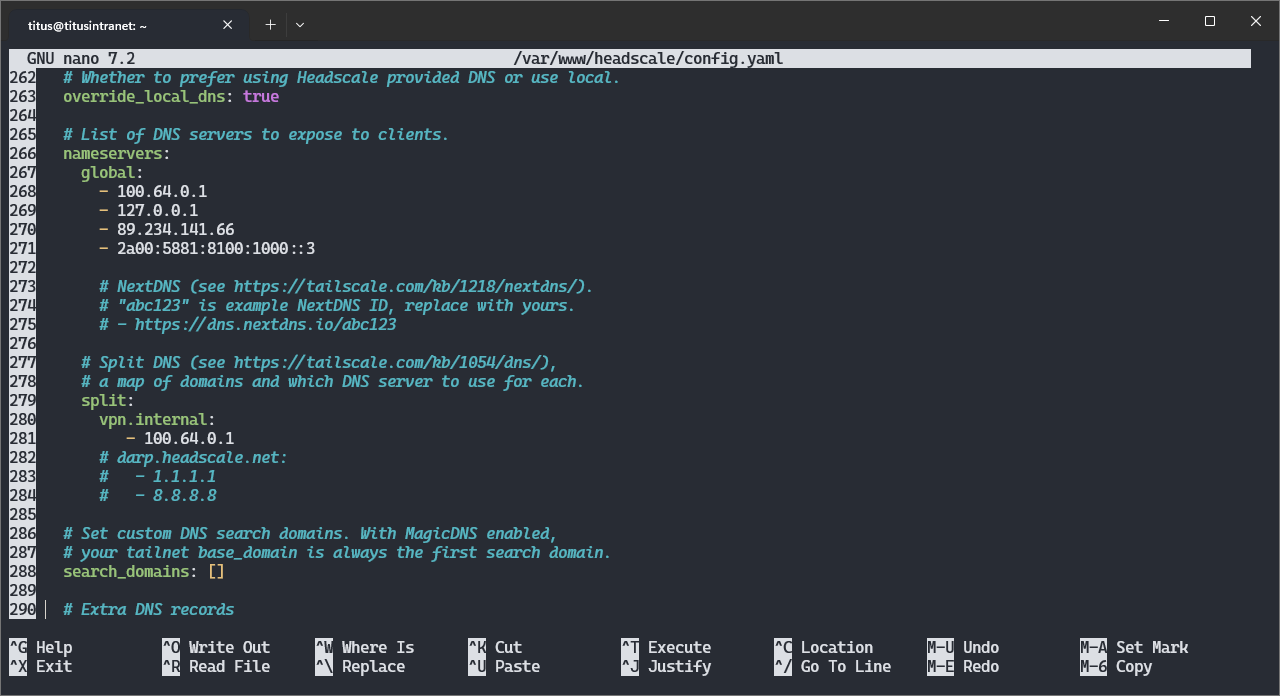
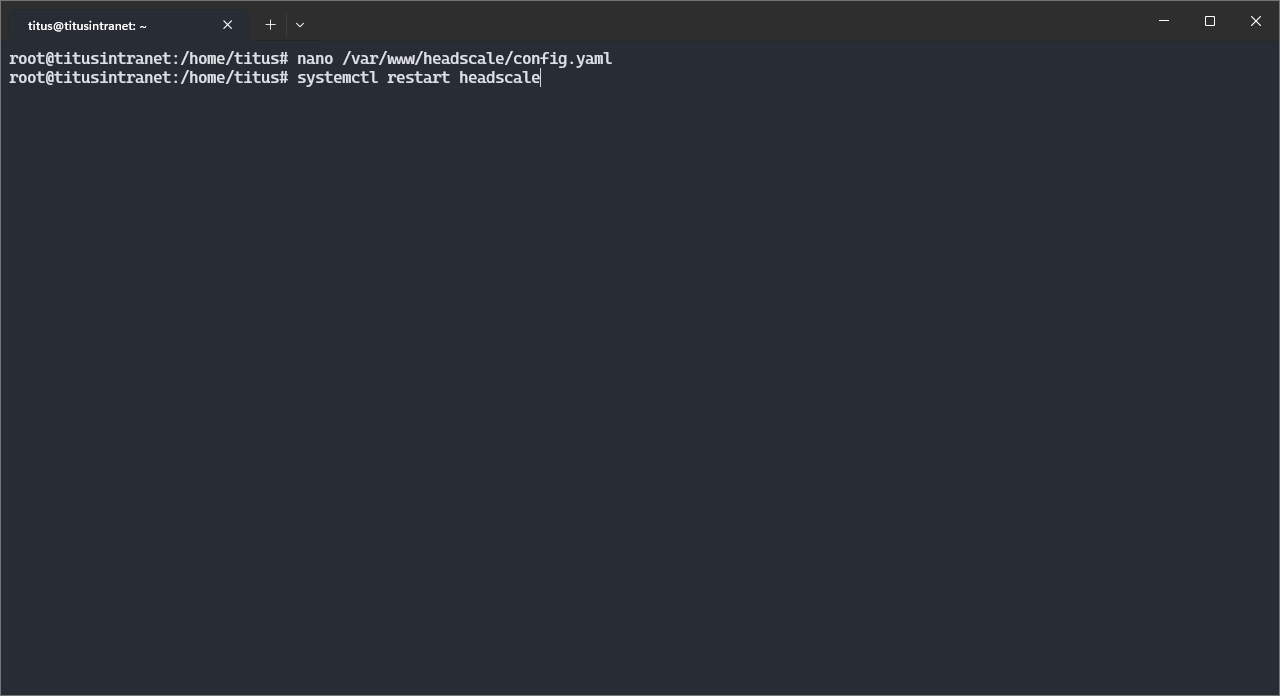
nano /var/www/headscale/config.yaml
Around line 267, add your server’s Headscale IP address for global servers and around line 279 for split DNS (i.e. all requests about vpn.internal subdomains will be sent to Adguard):
...
251 dns:
252   # Whether to use [MagicDNS](https://tailscale.com/kb/1081/magicdns/).
253   magic_dns: true
254
255   # Defines the base domain to create the hostnames for MagicDNS.
256   # This domain _must_ be different from the server_url domain.
257   # `base_domain` must be a FQDN, without the trailing dot.
258   # The FQDN of the hosts will be
259   # `hostname.base_domain` (e.g., _myhost.example.com_).
260   base_domain: vpn.internal
261
262   # Whether to prefer using Headscale provided DNS or use local.
263   override_local_dns: true
264
265   # List of DNS servers to expose to clients.
266   nameservers:
267     global:
268       - 100.64.0.1
...
279     split:
280       vpn.internal:
281          - 100.64.0.1
Restart the Heascale service. In the webadmin, it’s in the menu Tools, Services.
7. 
 Install Tailscale on the other clients
Tailscale can be installed on many devices: Download | Tailscale
On non-CLI clients, you will need to tweak its configuration to use a custom control server: Configure Tailscale clients to use a custom control server · Tailscale Docs
Connect your clients with your credentials like on the previous step, and allow to us Tailscale’s DNS.
![]() If you only want to set up a VPN, you can stop here !
If you only want to set up a VPN, you can stop here !
8.  (Optional) Install Headplane to monitor and administer Headscale
I’ll let you discover this app. Its integration withing YunoHost does not allow it to completely control Headscale, that’s why we used the command line earlier.
On its last version, Headplane should be automagically configured to connect to Headscale with its “SSO login” button. One of the nice simplest things it offers is to rename nodes on your network, i.e. change weirdly named clients.
In my case, I’ll rename my server from titusintranet to main, so that its MagicDNS domain is main.vpn.internal.
9.  Publish an intranet website
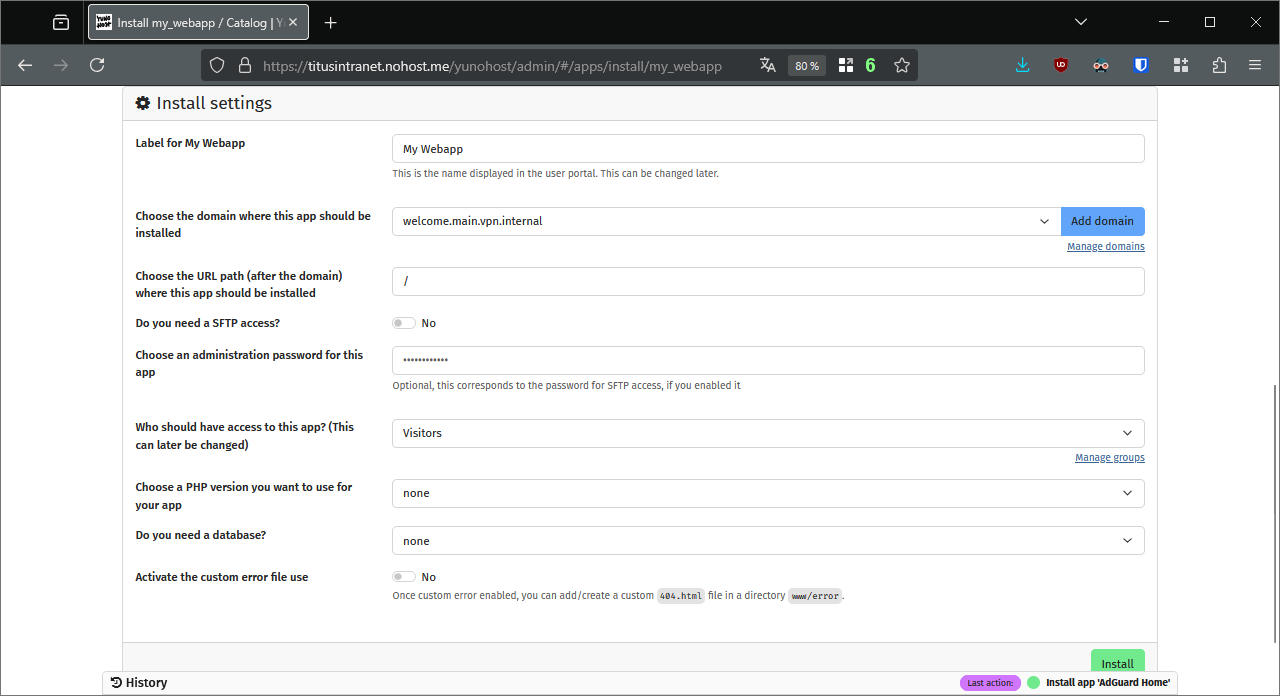
Here is an example with a My Webapp that I would like to serve on welcome.main.vpn.internal.
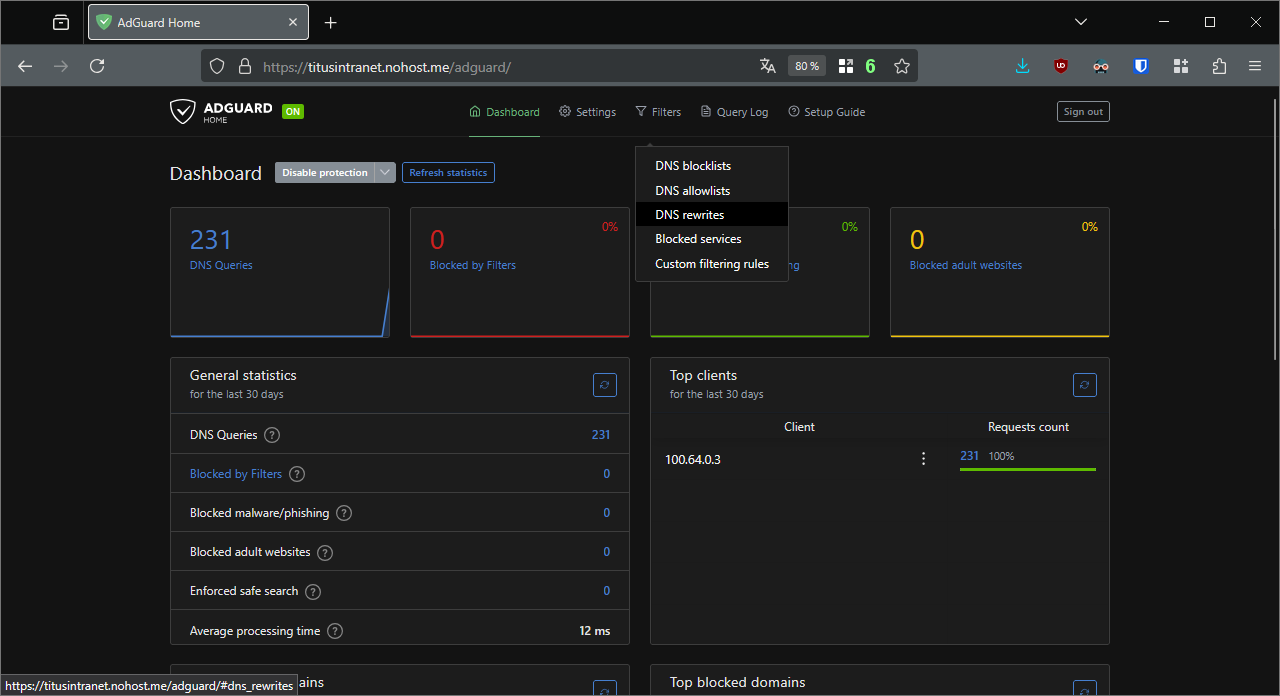
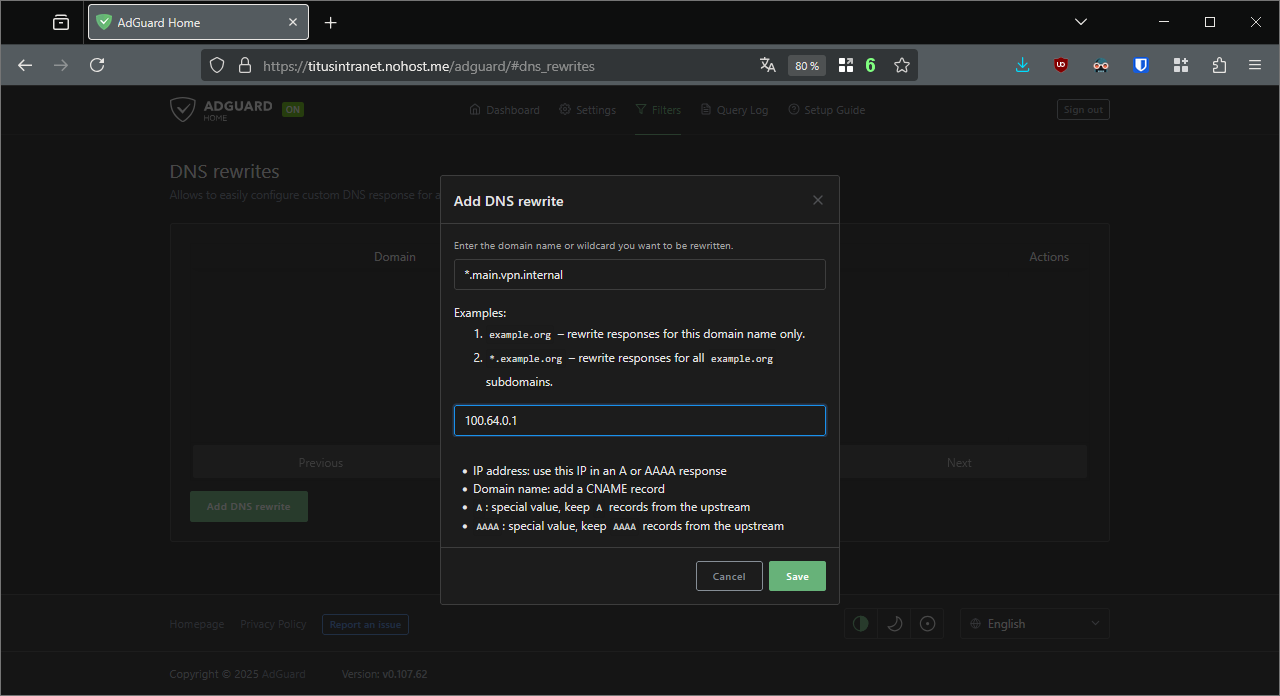
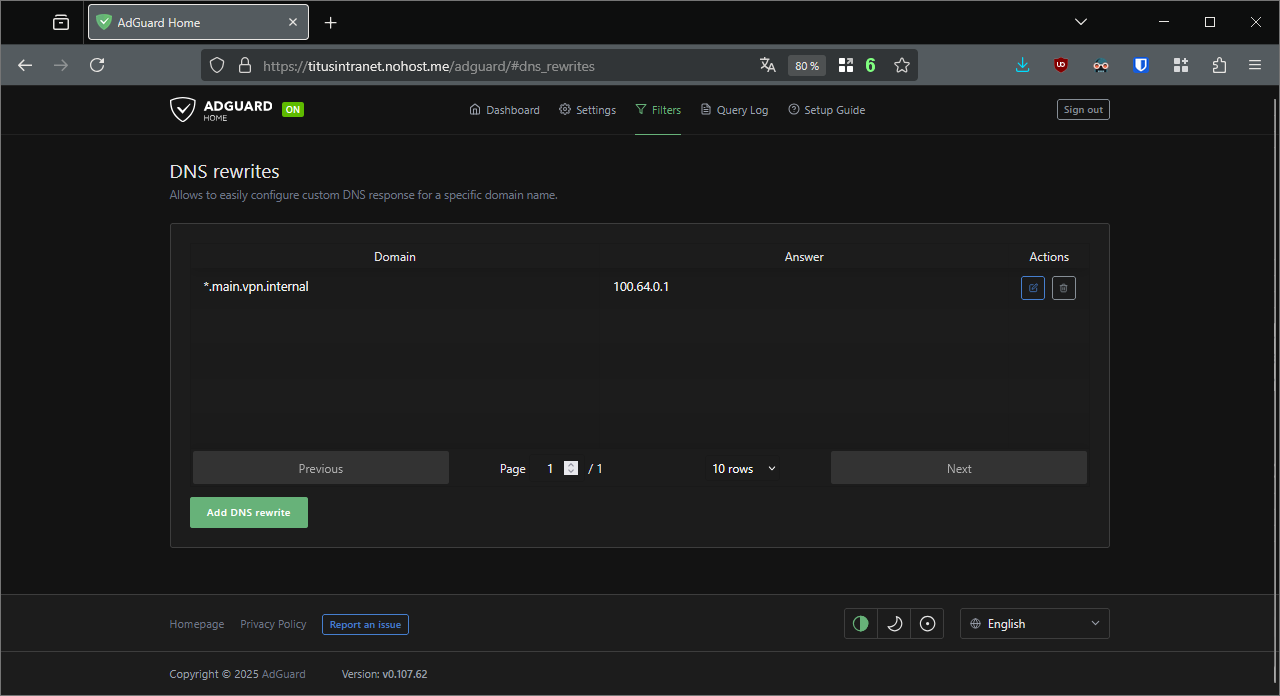
In Adguard, go to Filters, DNS rewrites. I add a rewrite for the wildcard *.main.vpn.internal to point to 100.64.0.1 (somehow CNAME records do not work). Save.
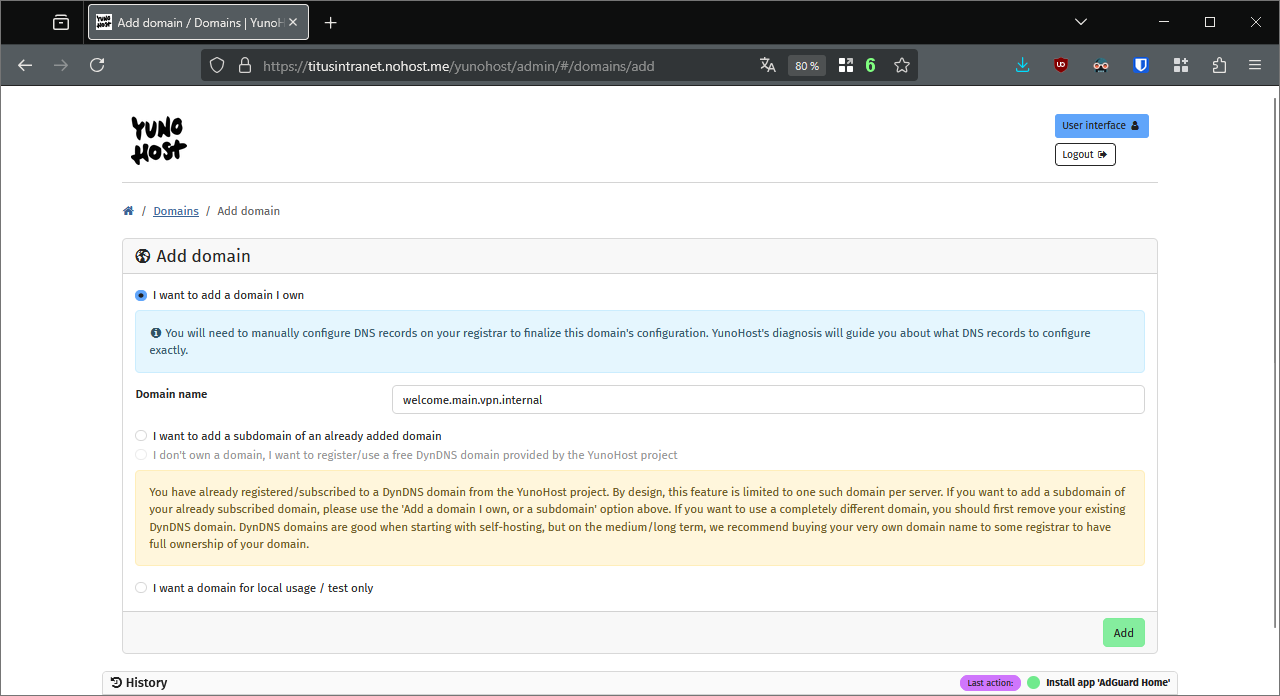
In YunoHost’s webadmin, add your MagicDNS domain and its subdomain. Note again than Let’s Encrypt certificate generation will fail.

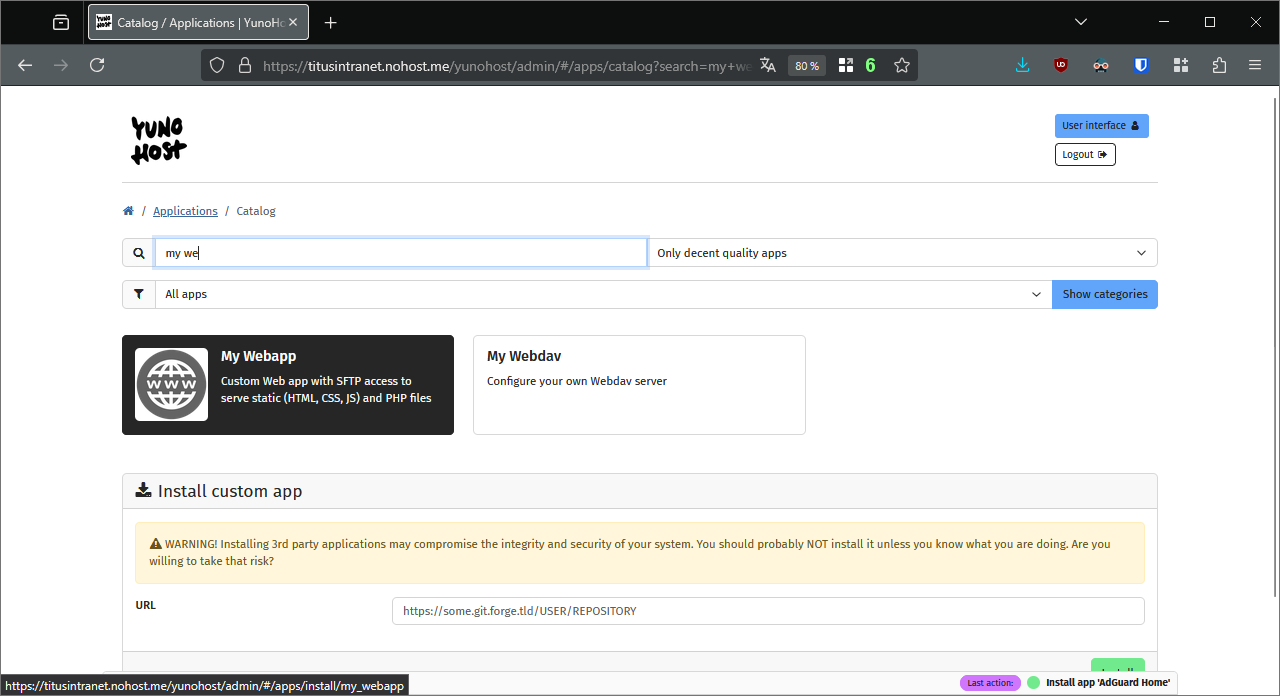
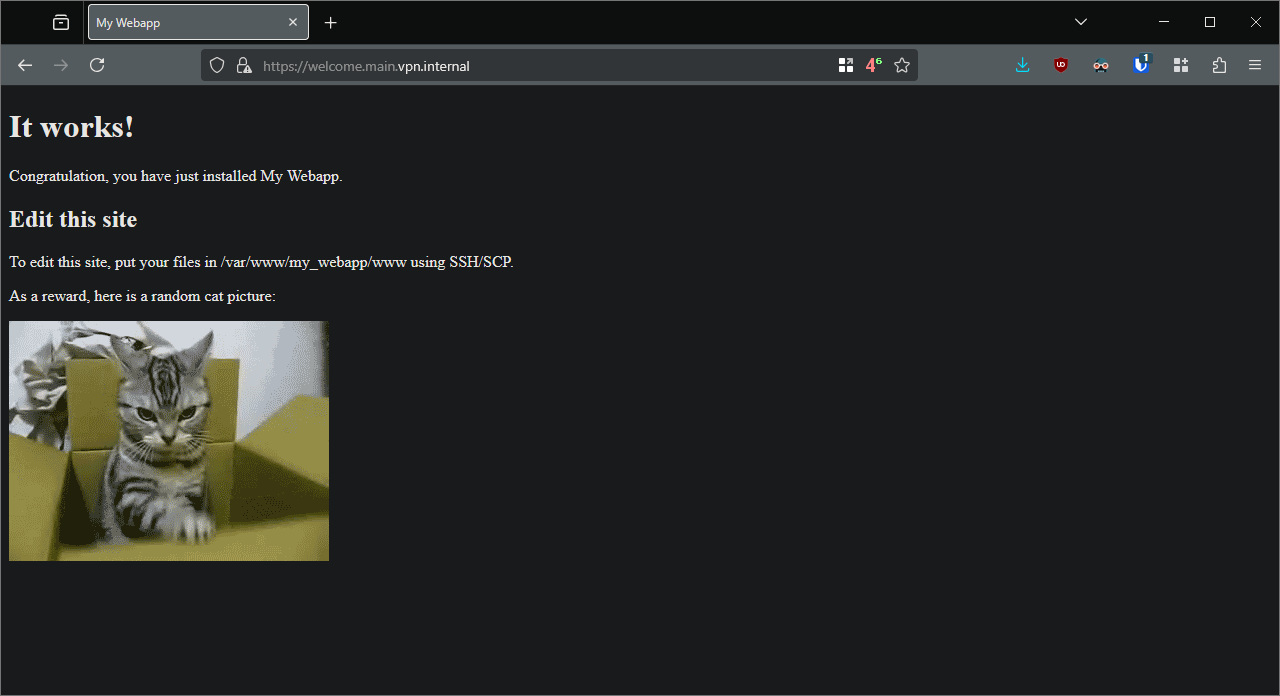
Install My webapp and try it from one of your Tailscale clients.
10.  (Optional, to be tested) Domain certificates
10.A. Setting up the DNS
If you want to have a domain certificate, you would have chosen a publicly accessible domain as a MagicDNS base domain.
If you chose from a dynamic DNS subdomain provided by YunoHost (nohost.me, ynh.fr, noho.st), you have nothing to do. ![]()
If you have your own domain, make sure all the required DNS records are set up and point to your public-facing server. You should also include wildcard entries.
Do not forget to add the wildcards in Adguard. ![]()
10.B. SNI/TLS passthrough
![]() This is section is required whenever you have another YunoHost server on the Intranet, that would be serving its own applications.
This is section is required whenever you have another YunoHost server on the Intranet, that would be serving its own applications.
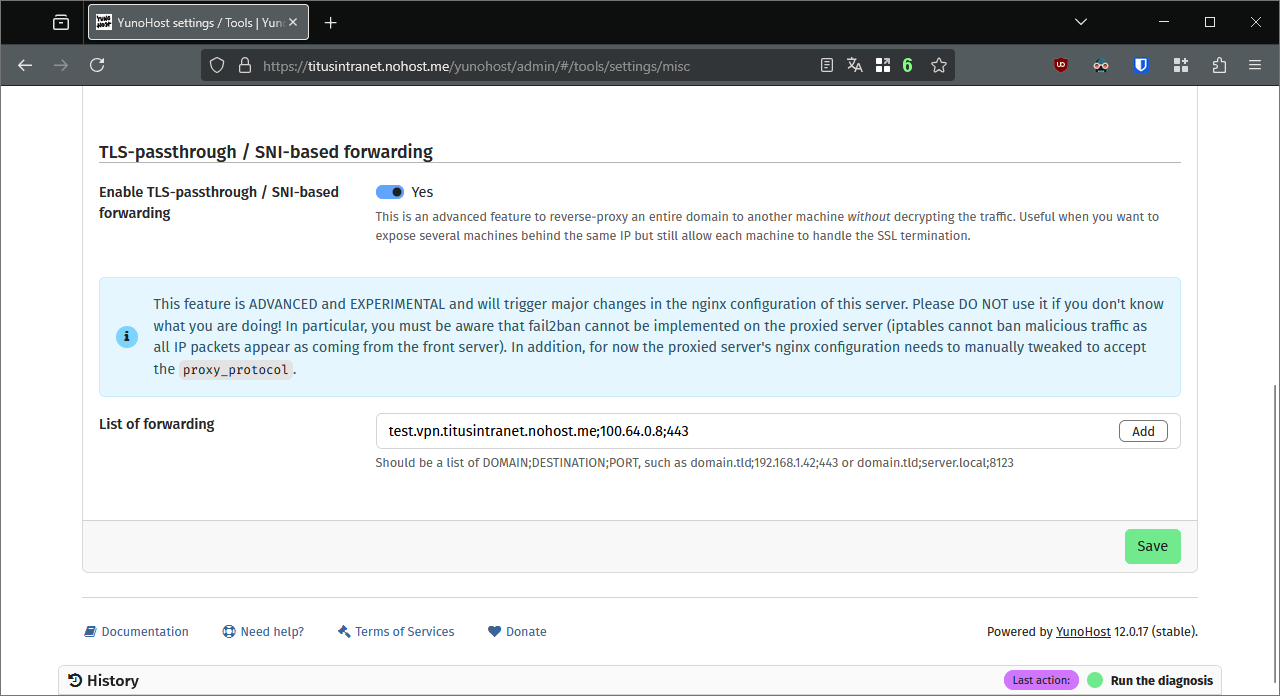
In your webadmin, in the menu Tools > YunoHost settings > Other, add items in the SNI/TLS passthrough list. It enables your main server to… ahem… pass the secured traffic through to the domains on your Intranet.
The items should have the following format: <domain>;<intranet IP address>;443. In my case, my test server would need the following entry: test.vpn.titusintranet.nohost.me;100.64.0.8;443
Add an entry for each domain and subdomain.
10.C. Generate the certificates
You may now generate the certificates on each server involved in the Intranet.
![]() Enjoy!
Enjoy!
This tutorial is a bit complex and has only been tested a couple of times on my own setup. Please report any issue in a dedicated support thread. Feedback is most welcome.